


 FREE Delivery over £35
 Unbeatable Prices

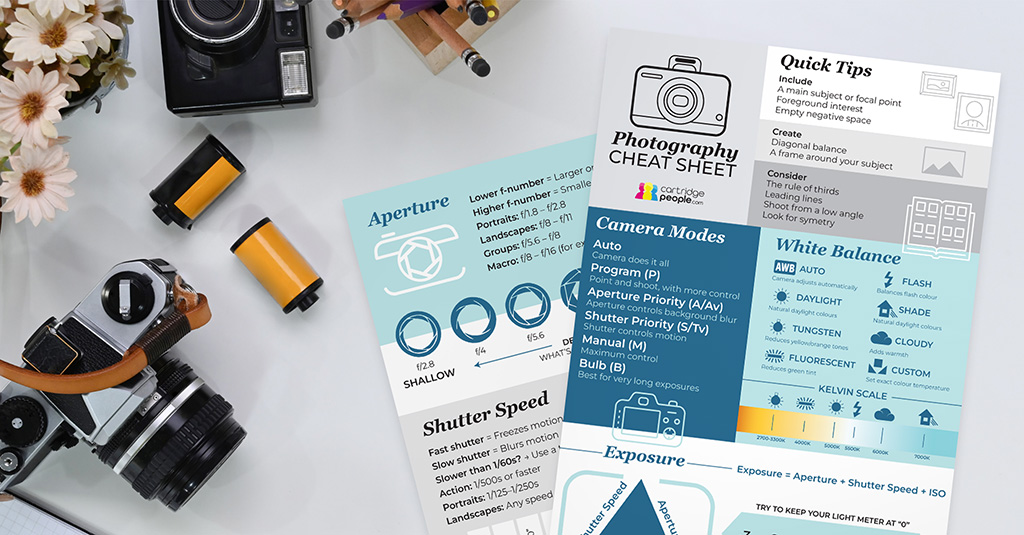
Printable Photography Cheat Sheet
Camera Cheat Sheet: Essential Camera Settings Every Beginner Should Know
Getting to grips with your camera can be hard at first with settings like aperture, shutter speed and ISO. This photography cheat sheet aims to break down essentials in simple terms, with practical tips to help students and amateur photographers take better photos with more confidence.
Understanding the Exposure Triangle
The exposure triangle is simply how cameras manage light. It’s made up of three factors: aperture, ISO and exposure. These work together to control how bright or dark your photo is. Aperture changes the size of the opening in the lens, shutter speed controls how long the camera collects light and ISO changes how strongly the camera reacts to that light. They work together so you should think of it as a balancing act. When one is altered to make the photo darker, the other can be adjusted to brighten it again. These settings can be experimented with to balance the light, allowing you to control how the photo looks.
Understanding Focal Length
The focal length is measured in millimetres and tells you how wide or zoomed in your camera’s view will be. It’s defined as the distance between the camera’s sensor (or film) and the lens’s optical centre.
Wide Angle (16-35mm)
The wide-angle lens is perfect for landscapes, architecture, travel and street photography. It can create a strong sense of space and depth and it uses a short focal length for this.
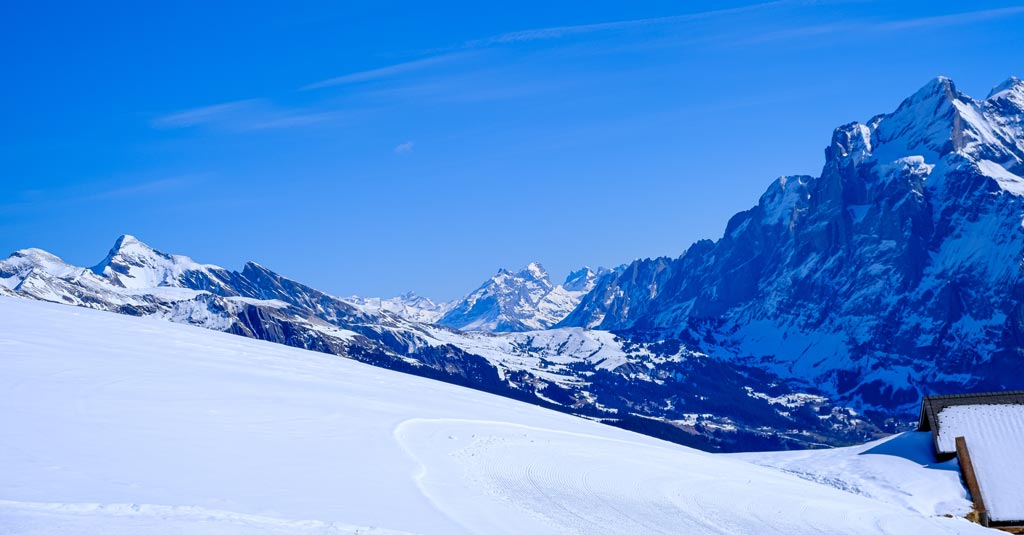
Standard (35-70mm)
A standard lens is ideal for everyday photographs, portraits and event photography as it gives a more natural-looking view similar to what we see with our eyes.

Telephoto (70mm+)
Anything above 70mm focal length is considered a telephoto lens. The long focal length results in a narrow field of view and makes distant subjects appear much closer. Telephoto lenses are especially useful for sports, wildlife and portraits where you may not be able to get physically close to the subject.
Aperture Quick Guide
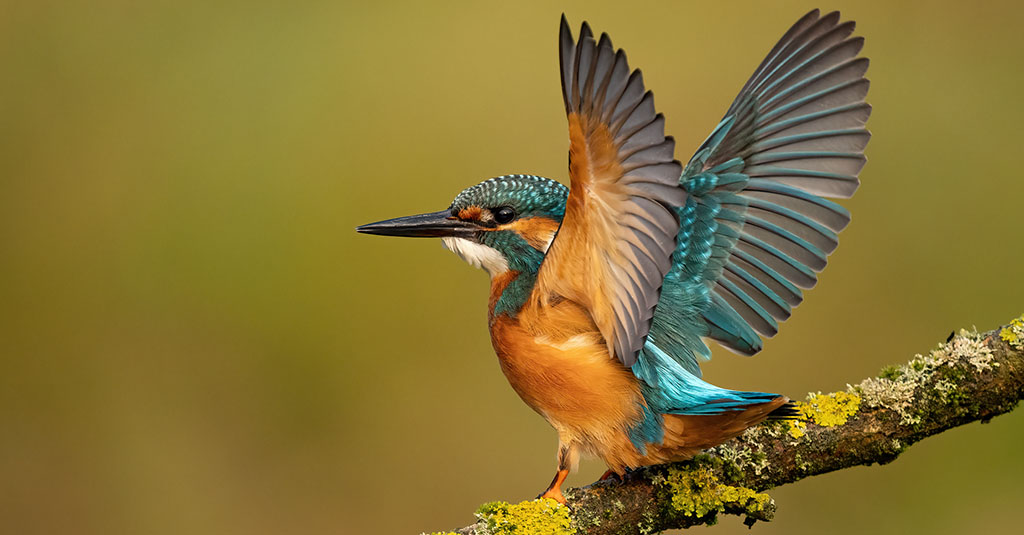
Aperture is a fundamental tool in photography. It determines how much light enters the camera and how blurred or sharp the background appears. Aperture is measured in f-stops/ f-numbers. A low f-number allows in more light and creates a shallow depth of field, meaning the background becomes blurrier. This is a good technique for portrait photography or when trying to capture the finer details of a flower/plant, for example. It’s often compared to a human eye as when conditions are light the ‘pupil’ or opening is small, but as the conditions darken, the pupil expands to let more light into the eye. Our photography cheat sheet details the f-stops you need to create a shallow or deep depth of field.
Shutter Speed Quick Guide
The shutter speed is how long the camera’s shutter stays open when taking a photo. It controls both how much light reaches the sensor and how movement appears in the image. A high shutter speed (such as 1/2000s) can capture fast-moving subjects sharply, such as birds in flight, fast-moving vehicles and water splashes. A lower shutter speed can be good for creating motion blur and lets in more light. If you’re using a longer exposure, you’ll likely also need a camera tripod so the rest of the scene remains in focus but the subject is blurred. An example of this is if you take a picture of a waterfall in 1/4 seconds this will blur the moving water but the surrounding trees and nature may require a tripod to appear still and not blur.
Camera Shooting Modes Explained
Camera shooting modes control how much of the exposure the camera chooses for you. Below are some of the modes your digital camera may have, explained further.
Auto Mode
Auto mode is one of the simplest camera settings for any beginner photographer. This means that the camera selects settings such as aperture, shutter speed and ISO automatically, based on the available light and scene, which allows you to focus on the composition and framing of the photograph.
Aperture Priority (A/Av)
Aperture priority is often represented on a camera by A/Av. It’s a camera mode which allows you to adjust the aperture but the camera automatically selects the shutter speed for a balanced exposure. It’s a great tool for photography beginners as it gives you creative control without making you manage every setting at once.
Shutter Priority (S/Tv)
Shutter priority is a camera mode which allows you to set the shutter speed and the camera settings will then adjust the aperture to make sure you capture a well-exposed image. It’s useful when movement is important, for example when using a fast shutter speed to freeze sports or wildlife. A slow shutter speed can be used to create motion blur. It’s often marked on a camera with an S or Tv.
Manual Mode (M)
The manual mode camera setting gives you full creative control over all exposure settings. The aperture and shutter speed are left up to you, so you can adjust them to prioritise what you want your photo to look like.
Composition Explained
Composition is a key element of photography. It’s how you arrange everything within the frame of your photo. A good composition helps guide the viewer’s eye around a photograph and makes it feel more balanced, interesting and purposeful.
Rule of Thirds
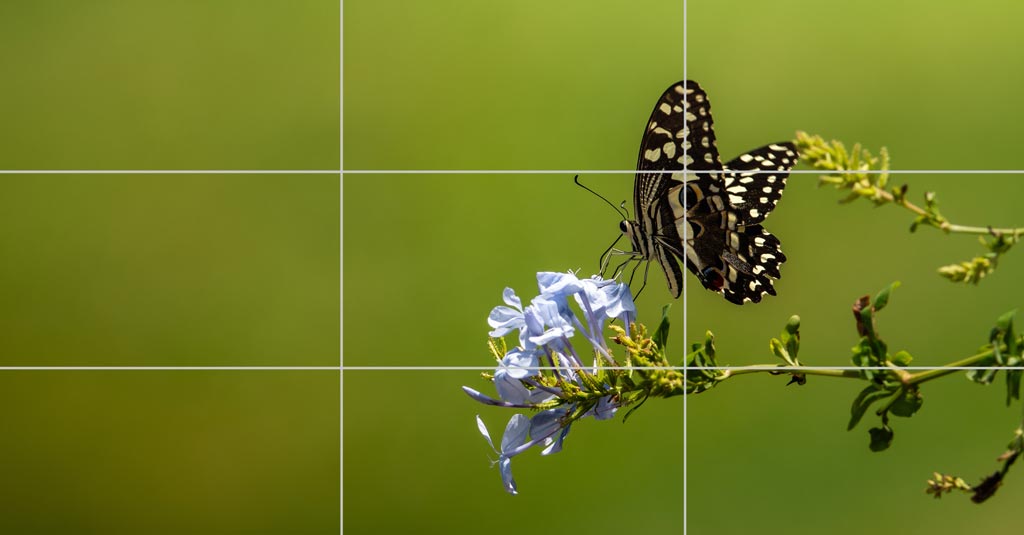
The ‘Rule of Thirds’ is a composition technique made up of nine equal sections using two horizontal lines and two vertical lines. It’s good practice to place a subject along these lines as it can help an image feel more balanced and visually interesting. Of course, this rule can always be broken but you should understand it before you do so, so when you break it it’s for a specific reason. The rule of thirds can work well when there’s one focal point in a photograph but if it doesn’t have one point of interest, such as a landscape, aim to divide the image into one third and two thirds. For example, if it was a landscape, aim to place the horizon on a horizontal line. A rule of thirds grid is often available in your camera settings, whether that be a digital camera or a phone.
Leading Lines
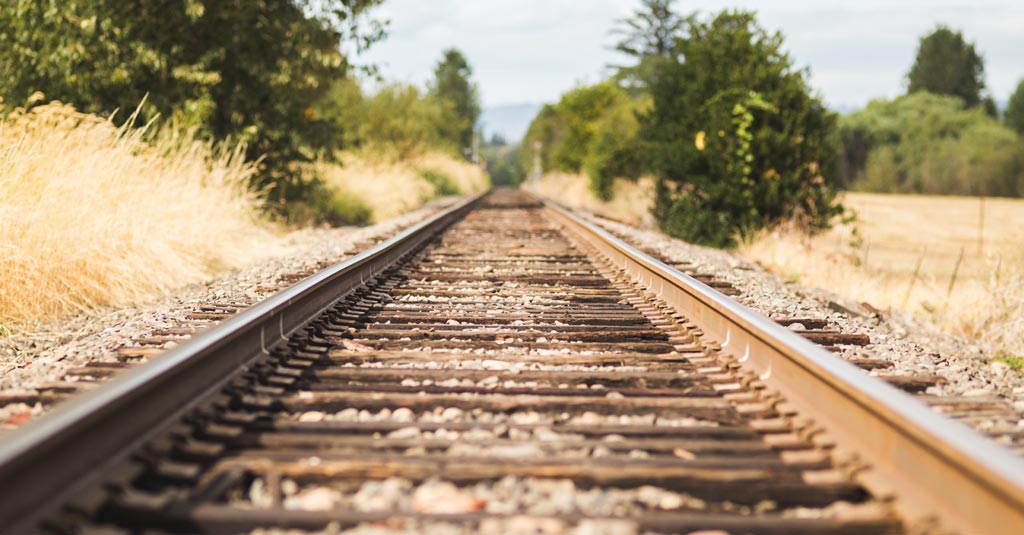
Leading lines are another great compositional tool to use in photography. The lines create paths to direct the viewers’ eyes to parts of an image. Things like roads, bridges, building edges or rivers are great for this. They can generate a visual flow through the photograph as well as a balanced composition. They can also create the feeling of depth and you may notice them being used in paintings as well as photography.
Balance and Visual Weight
Balance in photography is crucial. It’s all about how the visual weight of a photo is shared across the frame. It helps to create a visually pleasing photograph. However, it can be experimented with to give the impression of uneasiness and unresolved tension. It’s all dependent on where different elements are in the image. If everything is on one side of the photo it can sometimes feel uneven and create a less comfortable feel. You can use both symmetrical and asymmetrical balance in a photograph. A symmetrical balance is when the two sides of a photograph are very similar, whereas asymmetrical balance is when different objects balance each other out. For example, a person on one side of the frame could be balanced by a tree, building or area of colour on the other. Balance correlates with visual weight. Visual weight is how much an object or area in a photograph draws the viewers’ attention. An object may be bright, high in contrast or large within the photograph and this will draw the viewers’ eye to this area.
Summary
Hopefully, our photography tips and cheat sheet have reassured you about all those complicated technical terms and you’re now ready to go out and have a go at taking some amazing photos. But remember photography is all about experimenting and building confidence. Why not try the different camera modes such as automatic, shutter priority, aperture priority and even manual mode? This handy photography cheat sheet also means you have something you can refer to whilst shooting.
Don’t forget photo paper to print out your stunning photographs!
About The Author
